Every week at the BFC, we kick things off with “Mountain Tent Monday”. We have somewhere in the neighborhood of 300 tents (I’m not ambitious enough to go count them all). Over the course of the winter, we need to check all of those tents, take notes on their condition, and make sure they are all RFI (Ready for Issue) for the upcoming Antarctic Summer Season.
I’ll take you through a typical tent down here so you can see what an RFIed tent entails.
The first thing you need to check is the tent poles. These need to be checked for any scrapes or burrs that would rip and tear the tent fabric. Then, they are looked over for straightness. Here’s the set of poles that I pulled out of a bag yesterday.
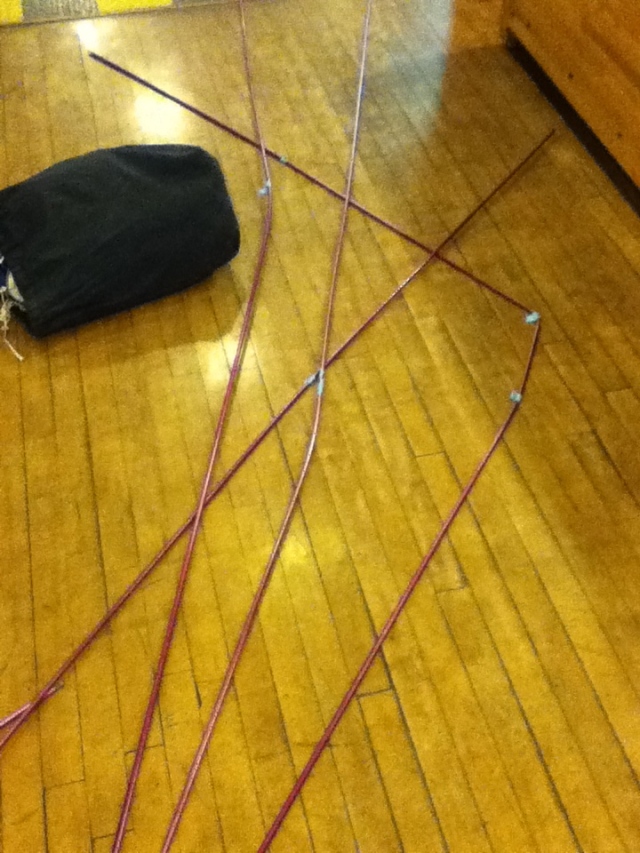
As I go through the poles, I mark obvious bends or burrs with the blue tape.
Now, ONE of those poles is supposed to have a 145 degree angle in it, but the other three are supposed to be straight and there are supposed to be four of them. For most of the poles, it’s not an entire length that is bad, but rather one or two (or four) of the individual segments that is bent. So, I bring the poles back to our “Tent Pole Workbench” and start taking them apart.
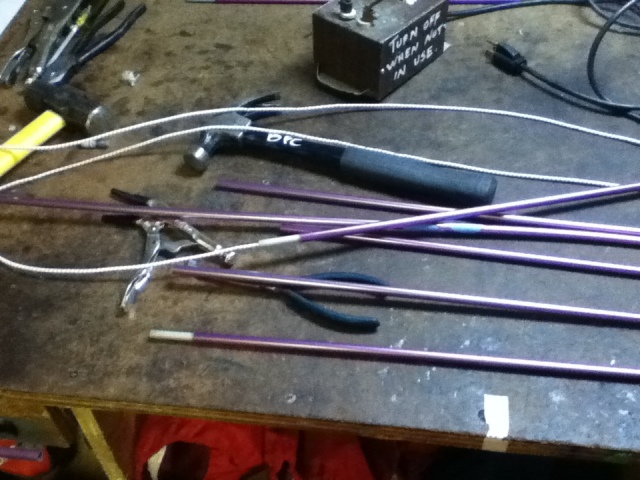
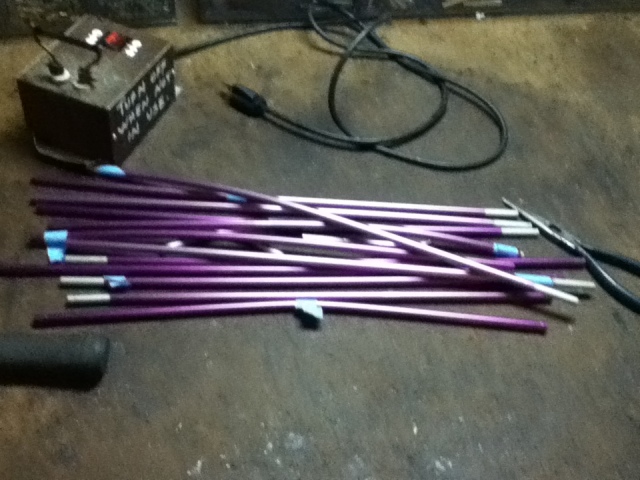
We have a pretty sizeable supply of spare tent poles and segments, so it’s simply a matter of finding the correct length and diameter for the replacements. If you have a pole that has more than half of the segments broken, or you are just missing the whole pole, there is a stock of prebuilt poles. In that case, all you have to do is check a reference book to find the correct length required for your pole (for this tent that was 160″) and then find that length pole in the stock.
All the scrap poles get put in a Non-Ferrous metal bin and are sent to the Waste Department to be bundled and sent off continent for recycling. We throw out A LOT of bent poles. Here is my stack of trash poles from just this one tent.
Some of the poles, like the one on top are truly bowed and it’s easy to tell from a glance. There are other poles in the pile that simply have a bent sleeve at one end. It’s hard to tell when it’s just lying on a counter, but if you put those subtle bends into a 160 inch pole, it becomes REALLY obvious and creates stress points. A bent sleeve can turn into a cracked pole. If a scientist gets a cracked pole 600 miles away from station, I’m not doing my job. But now look how straight the tent poles are!
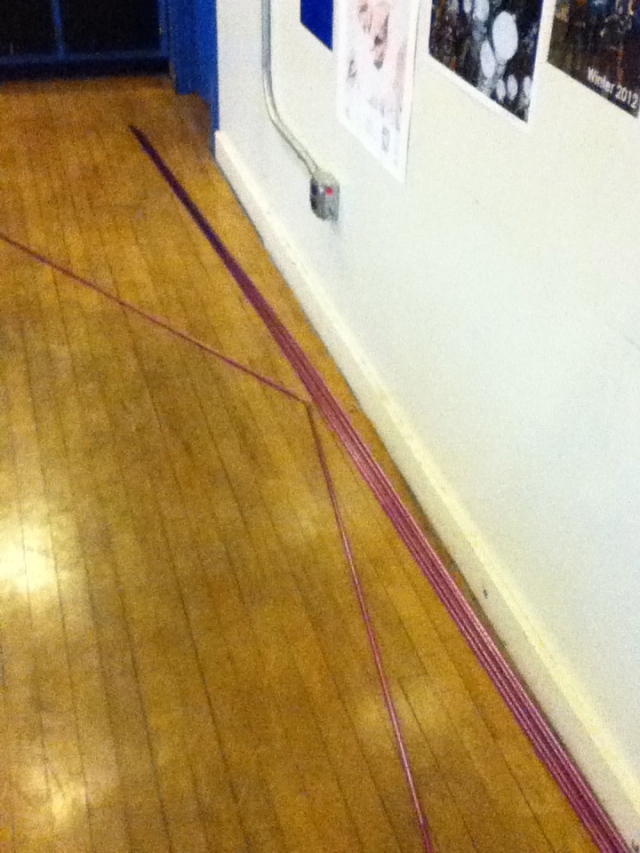
I took this 30 hours ago and looking at this picture is still immensely satisfying.
Once the poles have been approved, I’ll set the tent up, paying attention to possible rips or stresses at the seams and pole attachment points.
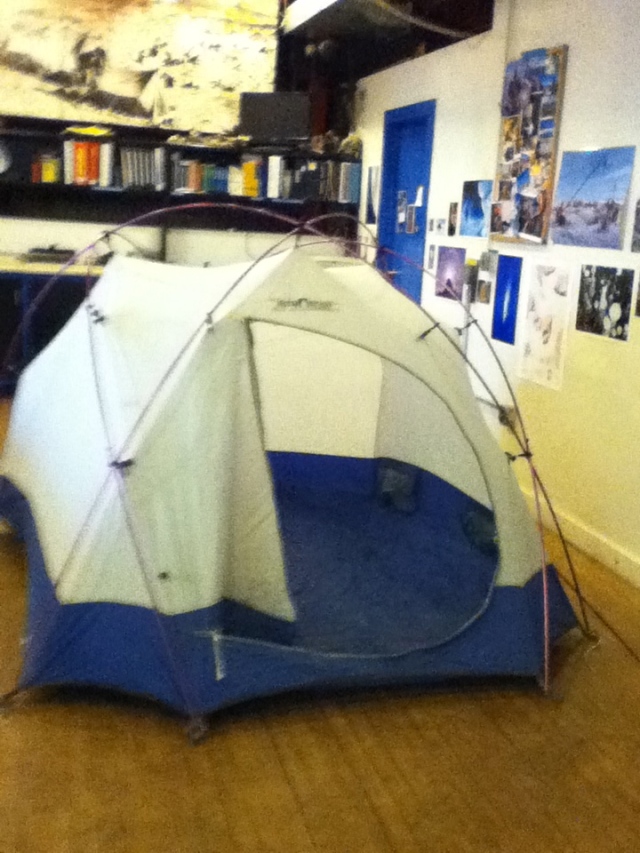
This particular tent is a Sierra Designs Sphere Expedition. I think it entered field service in 1995.
The beauty of free standing tents is that, once set up, you can lean in the door and pick the tent up around you. This way, you are standing straight up with your feet on the floor, the door of the tent around your feet, and the body of the tent surrounding you. In this position, it’s easy to look for small holes and tears in the tent, visible as little pricks of light in the floor and walls. For most of these small holes, we just put a small dap of urethane rubber compound over the hole, let it dry, then move on. Bigger holes and tears call for either a patch of ripstop tape with urethane around the edges, or a sewn on patch. Luckily, this tent didn’t have any new holes, so I was able to move on to the next part of the process.
We have a light table here in the BFC which we use to check the tent fly for holes. It’s a similar concept as checking the tent body, just shine light behind the fly and look for pinholes of light.
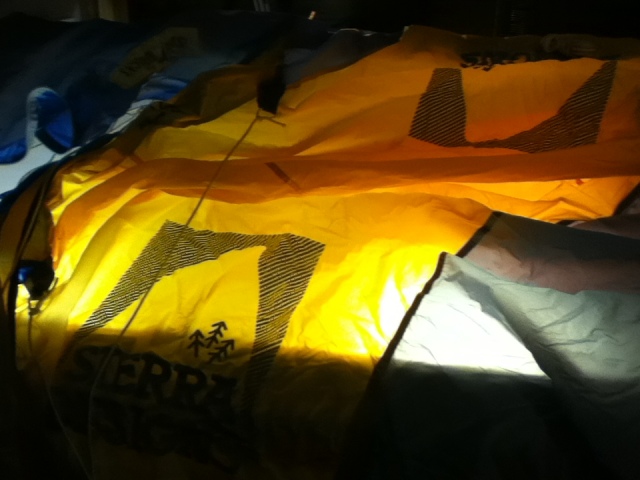
The tent fly on the light table
This is probably my least favorite part of the process as the light table is only about 2′ x 3.5′, meaning that you have to move the fly back and forth and around in circles in order to get a look at all of it. As a super dry climate, you get a lot of static here in Antarctica and wrestling with a tent fly is a great way to make your hair stand on end.
For this fly, I had one small hole to fix, so I marked it with Sharpie and then put the fly on the tent body, checking all the webbing and grommet attachments. Also, all the tents have many 12′ guylines attached. And sometimes when people are in a hurry, they don’t have time to rewrap those lines. So I open a tent bag that looks like this.
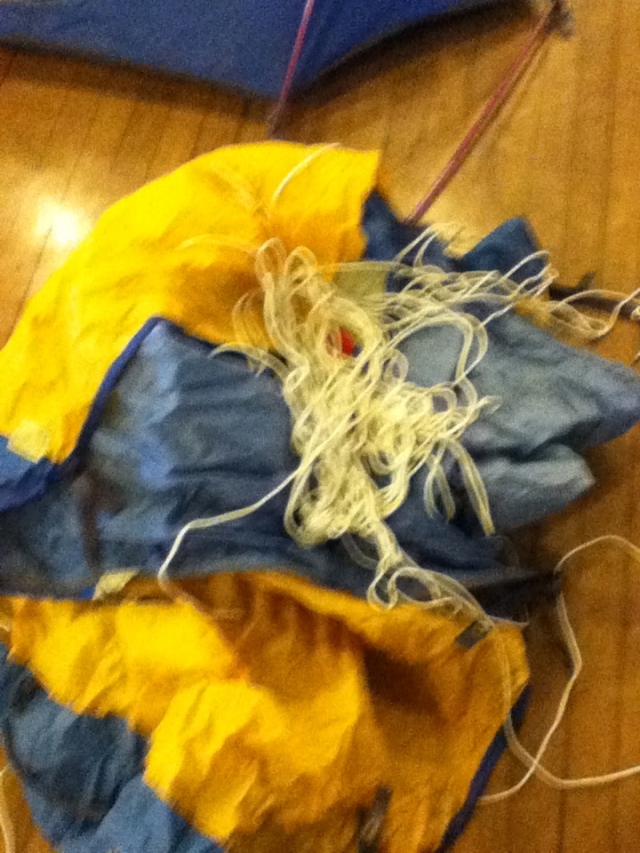
Sorry about the Blur, it was a cell phone picture kind of day.
All the grommet points on this tent were a-okay (on a different tent, I had to pull out a piece of torn webbing and create a new grommeted, ladderlock attachment point for the tent. Exciting stuff.). The last thing to check is the tent bag. This one had a couple holes so I sewed a rough path over some of them, then got out the urethane compound and patched the rest. After the tent bag was all glued up, I used the leftover mixed compound to fix that small hole that I found in the fly (you thought I forgot, didn’t you?).
After the glue was dry, I took the tent and put it all back in the bag with a repair kit, just in case, despite my best efforts, something goes wrong in the field. Then the bag was tagged with it’s rating. We have 3 tent ratings: Excellent, Good, DV (Dry Valleys). The Dry Valleys are located about 60 miles away from McMurdo, so if someone gets a crappy tent out there, they are well within reach of a replacement if it gets trashed. This tent had significant sun damage to the fly and quite a few previous repairs on the body. Plus, it had been a DV tent the previous year, so it retained it status. Then the tent was taped up with an RFI label, and put back on the shelf.
Sometimes, a tent is beyond repair and it is taken out of commission. Yesterday, I had a different Sphere Dome tent and, after 10 years of service to the US Antarctic Program, it was done. Before they are thrown away though, the tent is stripped of it’s good parts. It’s fly was still in DV condition, so it was given to a different tent with a missing fly. Then, I cut all it’s grommets and webbing off so they could be used to fix a different tent.
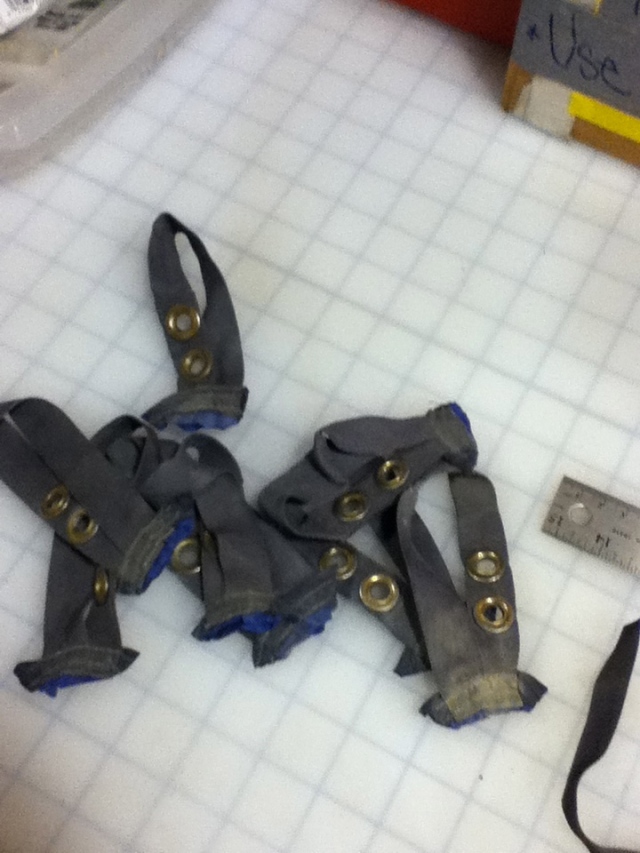
Ready to be used to save another tent!
Each tent, depending on it’s condition can take as little as 45 minutes to as long as 2 to 4 hours. Of course, on each tent that needs glue, it needs a couple hours just to dry. Because of that, on Mtn. Tent Monday, it’s not uncommon, by mid afternoon for the 3 of us working to have 6 tents set up in the room, with a couple more draped over chairs or hanging from the ceiling to dry. First thing Tuesday morning is to take down all the drying tents from the night before, now totally fixed and dry, and pack them up. After that, we are tent-free for the next 6 days until Mtn. Tent Monday comes around again.
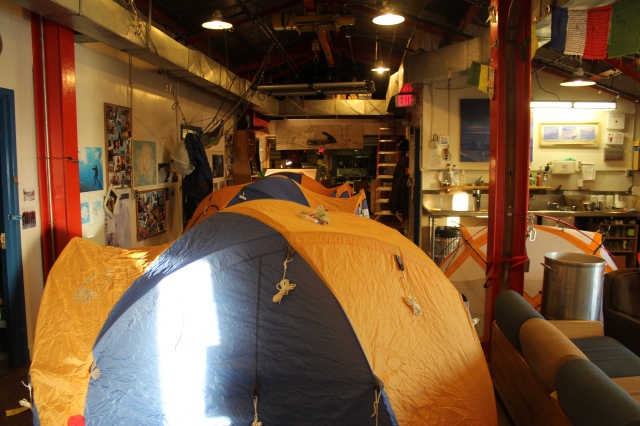
Just another Monday at the BFC


 That said, it’s a beautiful continent and, when you stop at one of the Apples on a clear night and turn off the lights on the vehicle, you can get some great star views.


